THINGS YOUR MOTHER SHOULD HAVE TOLD YOU1. Take your bananas apart when you get home from the store. If you leave them...
Posted by Cindy Diane on Friday, October 9, 2015
Wednesday, October 21, 2015
Tuesday, November 19, 2013
T-day countdown
I am a terrible, horrible, no-good, very-bad blogger. I don't think to update my blog until something BIG is happening and by then, who cares? I post daily, multiple updates to Facebook but thought-out posts to my blog? OH no...that's not gonna happen. Even my poor little Live Journal is lonely.
Meh. Whatever. No one reads this blog anyway so I don't know why I'm so concerned.
This year, my daughter is bringing her boyfriend. She's serious about this one, they've been living together for over a year and "officially" dating for a while. Not only is this a first, it may also mean that I need to put all my tips and tricks for the perfect Thanksgiving meal on "paper" because so much of it is in my head and I don't know what I know (or don't know) until it's too late.
I've already posted my brine tips and general poultry roasting tips. I need to think about my gravy, stuffing and other tips and tricks to pass down.
I wonder if she even cares....
Thursday, December 13, 2012
Making a mantel
Wow. Over a year since I've posted anything. I guess I'm just not cut out to blog. Oh well.
We moved into a house that has a fireplace but no mantel. The fireplace itself can't be used because I have no idea when the chimney was last cleaned (probably never, knowing the useless landlady and the past tenants) and the flue is stuck open. I don't feel like messing with it but I still wanted a mantel shelf to decorate for holidays and to make the space looking more finished.
After months of looking, I realized that I can't afford an actual mantel nor am I willing to spend that kind of money on a rental home. I also looked around for a large enough pre-made shelf and only found prohibitively expensive pieces or crappy stuff. So I decided to make it myself.
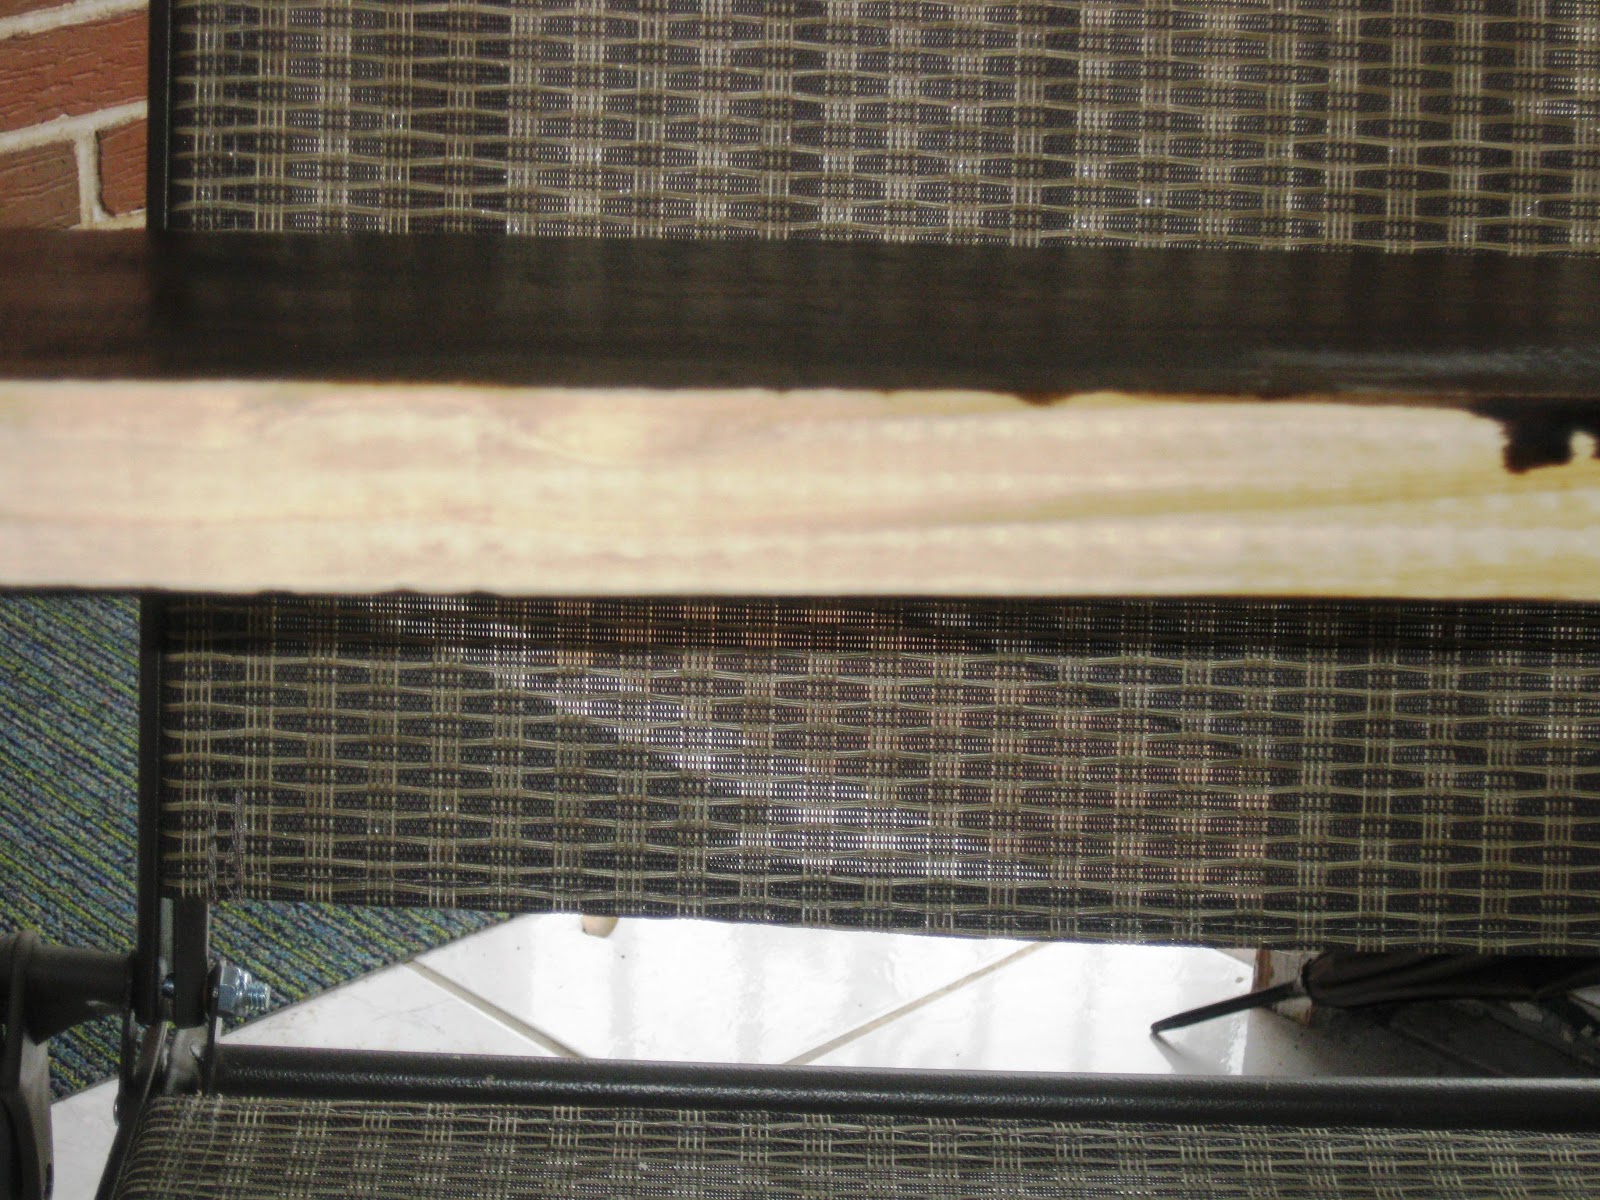
I purchased a 54" 2x6, a set of brackets and some stain. I think I spent all of $27 and here are the results:


We moved into a house that has a fireplace but no mantel. The fireplace itself can't be used because I have no idea when the chimney was last cleaned (probably never, knowing the useless landlady and the past tenants) and the flue is stuck open. I don't feel like messing with it but I still wanted a mantel shelf to decorate for holidays and to make the space looking more finished.
After months of looking, I realized that I can't afford an actual mantel nor am I willing to spend that kind of money on a rental home. I also looked around for a large enough pre-made shelf and only found prohibitively expensive pieces or crappy stuff. So I decided to make it myself.
I purchased a 54" 2x6, a set of brackets and some stain. I think I spent all of $27 and here are the results:

Using a foam brush was a good choice. Especially since the brackets are scrolled and hard to get into the creases. The foam was able to smoosh the stain in and nothing dripped or ran like it would with a regular paint brush.


After staining, I applied some acrylic fixative I had from a different project. I don't like using polyurethane because it drips and makes it too shiny. I liked the rustic look of the wood.

Here's the finished result. I had purchased a bunch of masonry screws to affix the shelf into the wall but ended up not needing them. The brackets are sturdy enough to hold up the shelf and I don't plan on putting anything heavy on it anyway.

And here's the reason for all this work. A garland I'd made for the fireplace in our old condo:

There we have it. Simple, inexpensive and it does what I need it to do. :)
Monday, November 21, 2011
My chili recipe
I sent this to David on FB, and realized others may want it. It's actually a reworking of a recipe one of Will's friends sent him, adjusted to how I cook. Since I tend to play with almost every recipe I try, this is the one that has made Will decide I make better chili than he does. :)
All weights and measures are estimates and depend entirely on how much you need/want to make/desire in flavor. I tend to cook by taste, and usually use the cup of my palm to measure for stuff like chili.
2lbs ground beef (I would recommend against the extra lean kind as the fat is an important factor in the texture and flavor)
chili powder (some people use it to the exclusion of other spices. I prefer to use a mix of spices and use chili powder to boost the flavor. But that's me, and I have a fully stocked spice cabinet ;)
one (at least one) good sized whole coarse chopped onion
5 or so whole garlic cloves, peeled and pounded or very thinly sliced. Use a garlic press if you have one.
Variants:
Depending on how tomato-ee you like your chili, you can add any combination of the following to suit your taste
-tomato sauce (about an 8oz can or so) You can get various kinds that include various seasonings (here, we have a brand called "Rot-el" that has chilis, or jalepenos in it. )
-canned whole stewed or cut tomatoes (My personal preference. I prefer my tomato flavor to come from actual tomatoes). Do not drain.
-tomato paste (great tomato flavor but adds less liquid for a firmer body) Sometimes I use it, sometimes not.
Add salt to taste. I tend not to use a lot of salt while cooking, preferring to let people salt their food at the table.
Black pepper - a good palm full. 1/4th tsp minimum (to me at least)
Cayenne pepper (be careful, a little goes a long way. Start slow, add more as needed and sampled)
Cumin - sparingly. Too much, and it's all you'll taste. It's chili, not curry ;)
Espresso powder -- dash or two. You get almost a mole-like flavor. Not too much. It's chili, not mole.
The rest:
Chopped bell peppers
Chopped jalapeno or chili peppers (to taste. A little goes a long way with these.) I've been known to add a habanero as well...but they are HOT! Make sure you wear gloves to de-seed them.
Beans:
Whatever kind you like or have on hand. I usually use a combination of black beans and red or pinks. I also add corn. Don't drain the beans, the juice adds the needed water and gives it good body.
Prep: Can be done in a pot on the stove, or a crock pot.
Brown the beef with the onions, garlic and peppers. Once the beef is browned and the onions are caramelized, drain. Add to the pot with the rest of the ingredients. If you're doing this in a crock pot, start out at high and then turn it to low. If on the stove, allow the mix to come just to a boil and then lower the heat.
After about 20 min or so of this mix working together, sample and start adding spices to taste. Go slow with spices as you don't really get the impact of them for about 30 min to an hour after adding them. Adjust it slowly upward in the heat factor/salt factor/flavor factor until it suits you.
Cook covered at least an hour, stirring gently on occasion. If you're doing this in a crock pot, you can leave it on low for the day.
If needed, you can add masa flour, which acts as a thickener. I don't usually use it, but I have in the past. Make sure to add it slowly or it will clump. I don't think it's usually needed unless you added too much liquid. We have a spice here called "Caroll Shelby's Chili Kit" (or something like that) which has all the basic spices in it. I don't know if it's available in Canada, though.
Serve over rice, or polenta or whatever. Cheddar cheese and sour cream toppings are always good.
Well, there you go. Chili. I don't think I've ever made it the same way twice. It's kind of like my marinara sauce: I just throw it together and let it bubble.
All weights and measures are estimates and depend entirely on how much you need/want to make/desire in flavor. I tend to cook by taste, and usually use the cup of my palm to measure for stuff like chili.
2lbs ground beef (I would recommend against the extra lean kind as the fat is an important factor in the texture and flavor)
chili powder (some people use it to the exclusion of other spices. I prefer to use a mix of spices and use chili powder to boost the flavor. But that's me, and I have a fully stocked spice cabinet ;)
one (at least one) good sized whole coarse chopped onion
5 or so whole garlic cloves, peeled and pounded or very thinly sliced. Use a garlic press if you have one.
Variants:
Depending on how tomato-ee you like your chili, you can add any combination of the following to suit your taste
-tomato sauce (about an 8oz can or so) You can get various kinds that include various seasonings (here, we have a brand called "Rot-el" that has chilis, or jalepenos in it. )
-canned whole stewed or cut tomatoes (My personal preference. I prefer my tomato flavor to come from actual tomatoes). Do not drain.
-tomato paste (great tomato flavor but adds less liquid for a firmer body) Sometimes I use it, sometimes not.
Add salt to taste. I tend not to use a lot of salt while cooking, preferring to let people salt their food at the table.
Black pepper - a good palm full. 1/4th tsp minimum (to me at least)
Cayenne pepper (be careful, a little goes a long way. Start slow, add more as needed and sampled)
Cumin - sparingly. Too much, and it's all you'll taste. It's chili, not curry ;)
Espresso powder -- dash or two. You get almost a mole-like flavor. Not too much. It's chili, not mole.
Cinnamon -- same as for my marinara, just a dash. You don't really want to taste it.
The rest:
Chopped bell peppers
Chopped jalapeno or chili peppers (to taste. A little goes a long way with these.) I've been known to add a habanero as well...but they are HOT! Make sure you wear gloves to de-seed them.
Beans:
Whatever kind you like or have on hand. I usually use a combination of black beans and red or pinks. I also add corn. Don't drain the beans, the juice adds the needed water and gives it good body.
Prep: Can be done in a pot on the stove, or a crock pot.
Brown the beef with the onions, garlic and peppers. Once the beef is browned and the onions are caramelized, drain. Add to the pot with the rest of the ingredients. If you're doing this in a crock pot, start out at high and then turn it to low. If on the stove, allow the mix to come just to a boil and then lower the heat.
After about 20 min or so of this mix working together, sample and start adding spices to taste. Go slow with spices as you don't really get the impact of them for about 30 min to an hour after adding them. Adjust it slowly upward in the heat factor/salt factor/flavor factor until it suits you.
Cook covered at least an hour, stirring gently on occasion. If you're doing this in a crock pot, you can leave it on low for the day.
If needed, you can add masa flour, which acts as a thickener. I don't usually use it, but I have in the past. Make sure to add it slowly or it will clump. I don't think it's usually needed unless you added too much liquid. We have a spice here called "Caroll Shelby's Chili Kit" (or something like that) which has all the basic spices in it. I don't know if it's available in Canada, though.
Serve over rice, or polenta or whatever. Cheddar cheese and sour cream toppings are always good.
Well, there you go. Chili. I don't think I've ever made it the same way twice. It's kind of like my marinara sauce: I just throw it together and let it bubble.
Sunday, October 30, 2011
Falling off, and getting back on again
Both Will and I have fallen off the wagon, both diet and exercise wise. Not enough to gain a lot of weight, we're both still staying put or yo-yoing up and down a pound or two.
But, we start back this week. All over again. No more binges, no more doing nothing. Our Halloween festivities are over, so there won 't be any more late night Waffle House runs. I refuse to undo all the good work I've done by being irresponsible and weak.
I'll be bottle feeding newborn puppies for a couple of days, so won't be going to the gym until the next person takes over on Tuesday, but I can at least do some stuff here. Pain is not an excuse. Neither is fatigue. I will be at least doing some yoga, since I also asked to become part of the Burning Desire Fire Theater and need to get stronger and more limber so I can perform.
Maybe all I needed was a goal; besides just losing weight. I'm fitting into smaller clothes and want to get more toned, stronger and shapely by DragonCon 2012. Since I'm planning to make a Steampunk Borg costume, I have to able to fit into something rather form-fitting.
Oh yes, it is going to happen.
Friday, October 14, 2011
Getting there
My first big sewing project, and it's very slow going. Granted, I've put it aside a few times due to life or other things getting in the way. But now, since Halloween is around the corner, I need to get moving on it and get it done.
I have a few buttons still to put on the jacket and make the bustle but I finished the skirt today after having to redo the entire ruffle. Thankfully, I didn't have to replace the fabric, just pick out a ton of stitches.
Here it is so far:

I have a few buttons still to put on the jacket and make the bustle but I finished the skirt today after having to redo the entire ruffle. Thankfully, I didn't have to replace the fabric, just pick out a ton of stitches.
Here it is so far:

Tuesday, August 30, 2011
Beef, Mushroom and Barley Stuffed Tomatoes
This was made completely out of items I had in my kitchen. Surprisingly good, although I used mild cheddar instead of feta because that's what I had. Using feta will give it more of a tang, which was missing with the cheddar. Oh, and it's 6 Weight Watchers points per serving! Can't beat that! :D
Ingredients:
1 pound(s) 90% lean/10% fat raw ground beef
1 medium onion(s), chopped
2 clove(s) garlic clove(s), minced (medium)
1/2 cup(s) mushroom(s), chopped
6 large tomato(es)
1 tsp dried oregano
1 cup(s) parsley
1 tsp dried basil
1/2 tsp table salt, or to taste
1/2 tsp black pepper, or to taste
1/4 cup(s) fat-free beef broth, enough to moisten mixture
1 cup(s) cooked barley
1/2 cup(s) reduced-fat feta cheese
1 tsp olive oil
1 Tbsp grated Parmesan cheese
Instructions
1. Preheat oven to 350. Cook barley according to instructions.
2. Brown meat and drain well. Set aside.
3. Spray same pan used to brown meat with some cooking spray. Saute mushrooms, garlic and onions over medium heat until mushrooms have released their moisture and onions are tender.
4. Cut the tops (1/4 - 1/2 inch) of the tomatoes. Using a small spoon, carefully hollow out the tomatoes, keeping the tomato shells intact. Save the tops and pulp for other uses.
4. Add meat, barley , spices and broth to vegetables and cook, stirring until heated through.
5. Remove from heat, and stir in feta cheese. Stuff into tomatoes carefully.
6. Drizzle small amount of olive oil over tops of tomatoes, then sprinkle some parmesan cheese.
7. Arrange tomatoes in a baking dish so that they are held securely in place. Bake in oven for 20-30 minutes or until tomatoes are tender and cheese is lightly browned.
Subscribe to:
Posts (Atom)